

Pantry porn … being organised has never looked so good
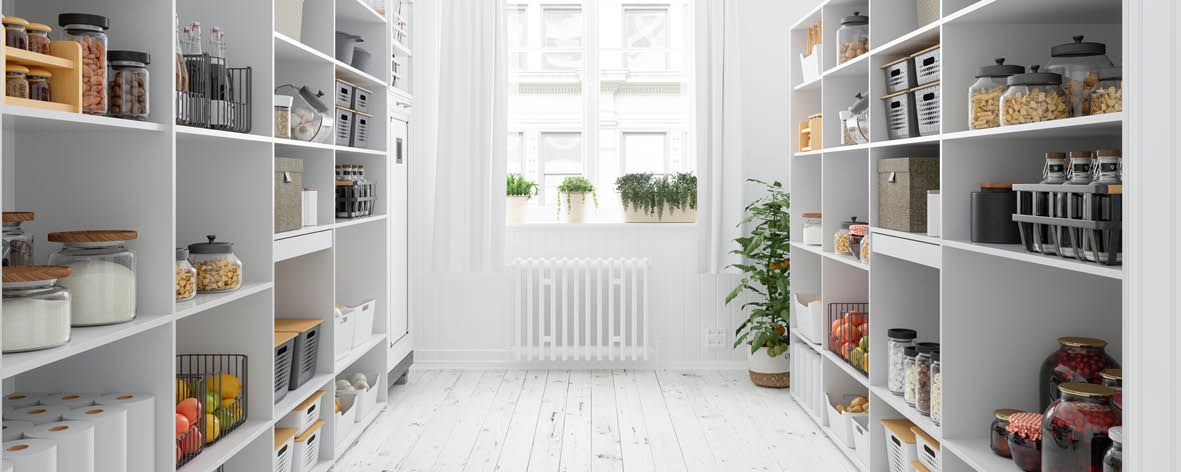
If you’re a social media user you’re likely to have noticed that beautifully curated pantries have become incredibly popular content. Posts of immaculately organised and presented pantries fill your feed and possibly create an emotion you didn’t know was possible … pantry envy. And while these pantries look great, they also offer benefits including saving money and time. So, how do you create an insta-worthy pantry? Read on for our top tips.
Before we get into the how, let’s have a look at the why. Why is it a good idea to organise your pantry? Here’s a few reasons:
Time savings
With a spot for everything and everything in its place, you will find making a grocery shopping list a breeze. A pantry organised into categories means it’s easy to see exactly what you need to add to your shopping list.
Money savings
Good quality storage containers will cost a bit initially, but they soon pay for themselves as food won’t spoil as easily, you won’t buy unnecessary items, and you’ll waste less food. You’ll also save money by being able to cook from your pantry more efficiently by planning meals based on what you have on hand.
Space savings
By decanting products into storage containers you will save space; no more shuffling half used packets of pasta around or trying to fit bulky cereal boxes in tight spots.
Ten steps to an organised pantry
1. For best results spend some time planning – look at how much room you have to work with, take measurements and work out the best way to use the available space.
2. Consider the types of shelves you have – tall shelves can equal wasted space so contemplate shelf inserts or risers to maximise the space. Deep shelves can be made more user-friendly by adding baskets and containers with handles so you can pull them out easily. Turntables or a lazy susan are also great for deep shelving.
3. Make a zone plan – no two families are the same, so no two pantries will be the same. Think about your family and lifestyle and plan pantry zones to suit – everyday staples, dry ingredients, snacks, breakfast, canned food, oils, vegetables, small appliances etc
4. Containers – buy the best quality you can afford as it will save you in the long run; as a minimum you should choose leak-proof, air-tight, dishwasher-safe containers. Think about what will work best for your family – glass or plastic, what type of lids, do they need to be stackable, and of course, sizes.
5. Look at other things you may need – magazine holders are good for storing recipe books and even cans. If space is tight, you can store things on the inside of the door using hooks.
6. When you have everything you need, it’s time to start creating your new pantry. This is not a quick job so make sure you allow yourself plenty of time to do it properly.
7. Remove everything from your pantry and give it a thorough clean. As you take things out of the pantry check their expiry dates and group items according to the zone plan you created earlier.
8. Fill the containers and label them with pantry labels. You can use a whiteboard marker to write best-before dates on containers or tape the expiry dates onto the rear of the container. If you want to keep cooking instructions, cut them off the packaging and store either inside the container or stick to the rear of the container.
9. Now that you have filled the containers, double check your zone plan and make any adjustments to the layout if you need to.
10. Position everything in your pantry and enjoy the satisfaction that comes with being organised. And finally, don’t forget to take a photo for social media!