

Mind your temper … how and why you should temper chocolate
It’s nearly Easter so of course we’re thinking about chocolate. Shiny, flawless, glossy chocolate is a thing of beauty and the gold-standard for chocolatiers. That characteristic snap when you bite into it and the way it melts smoothly in your mouth are all things we love about a good chocolate. And all of these things come from a process called “tempering”. Chocolate that has not been tempered properly can be dull, streaky, rough, crumbly, or mottled. Let’s explore more about tempering and how to temper chocolate yourself at home.
Tempering is the process of heating and cooling chocolate to specific temperatures in order to achieve those desirable characteristics we associate with premium chocolate. Tempered chocolate is ideal for making chocolates, truffles, and desserts. Not all chocolate requires tempering; it is only couverture chocolate which is made with cocoa butter rather than vegetable fat, that needs to be tempered.
The process of tempering heats and treats the fat acids in cocoa butter to give a smooth texture and allow the chocolate to set properly. Different chocolates require different temperatures for tempering with white and milk chocolate needing a cooler temperature than dark chocolate. There are two popular methods for tempering chocolate, the classic method and the seeding method. If you would like to try tempering chocolate at home the seeding method is easier to manage. Here’s how:
1. Chop chocolate into small, uniform pieces.
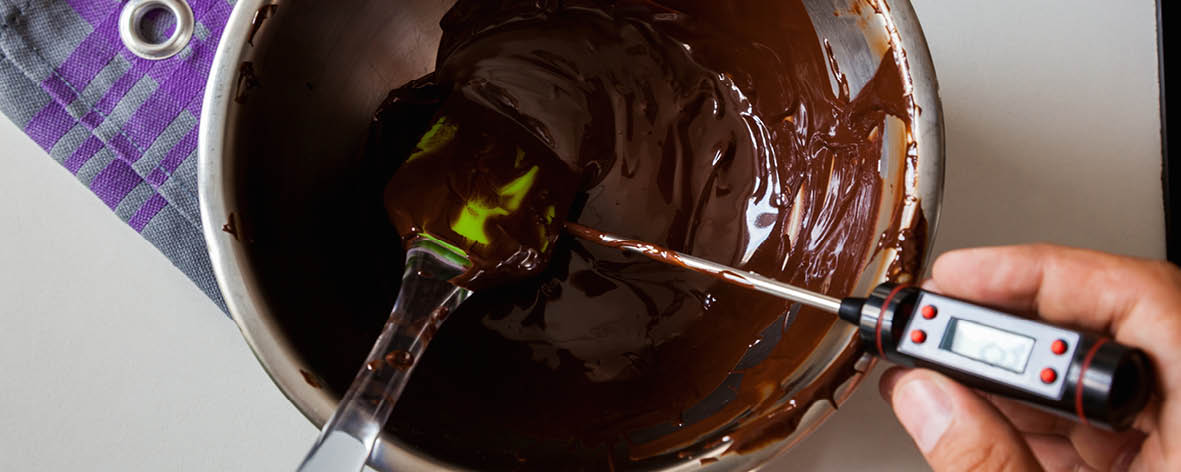
2. Melt about two-thirds of the chocolate in a heatproof bowl set over a pot of simmering water, stirring constantly until the chocolate reaches a temperature of 48C for dark chocolate, or 41C for milk or white chocolate.
3. Remove the bowl from the heat and add the remaining one-third of the chocolate to the melted chocolate and stir until all the pieces have melted and the chocolate has cooled to 27C for dark chocolate or 26C for milk or white chocolate.
4. Test the temper by dipping the tip of a clean palette knife into the chocolate and allowing it to set. If the chocolate sets without any fat blooms, the tempering was successful. If it looks dull or streaky you can repeat the steps to try tempering again.
5. When the chocolate is correctly tempered you can mould it, shape it, or dip it to make your chocolate creations. To keep it at the right temperature, have a bowl of hot water on hand so that you can sit the chocolate bowl on top if needed.