

Easter craft ideas … marbled eggs
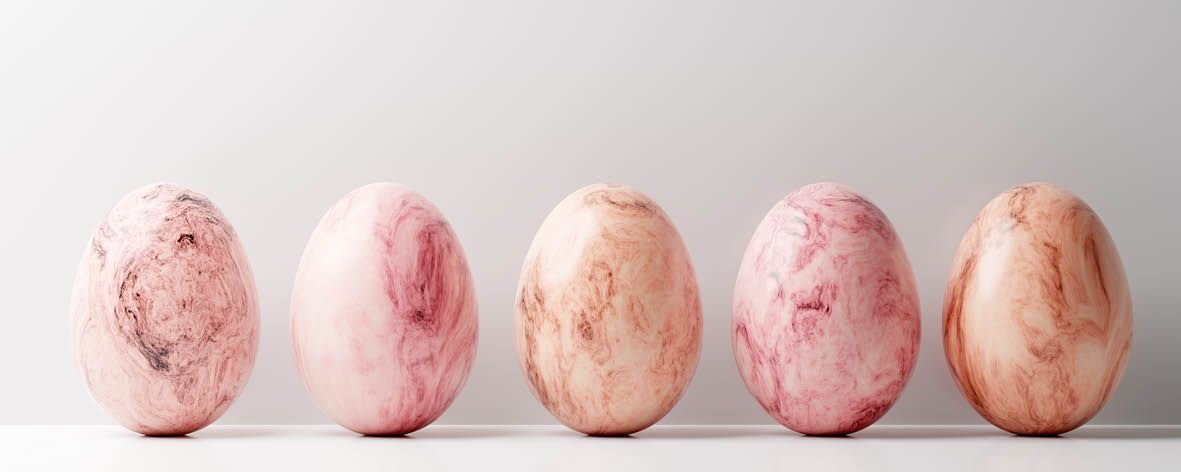
Dyeing eggs is as synonymous with Easter as eating chocolate. There’s a range of techniques that you can use to achieve great results and one of our favourite is marbling because it produces stunning eggs that will look fabulous in your home this Easter season.
Let’s start with what you’re going to need to make these DIY marbled Easter eggs:
· Nail polish – you can choose one colour or a combination of colours
· Hard boiled eggs (note you should not eat the eggs after they have been marbled) or if you want your eggs to last buy some faux eggs
· Container – it will get messy so don’t use your best Tupperware
· Rubber gloves
· Stick for stirring
· Nail polish remover
· Water
· Piece of foam
· Pins with plastic heads
To make the marbled eggs fill the container three-quarters full of room temperature water. We used a 750 mL container. Prepare a drying rack for the eggs by inserting pins into a piece of foam – you will be able to sit the eggs on top of the pins while they dry.
Add a few drops of nail polish to the water. The more drops you add, the darker and more covered the egg will be. Stir the nail polish lightly with the stick to create a marbled look in the water.
Wearing rubber gloves, dip the egg into the water and swirl to cover all of the egg.
Remove from water and place on the prepared drying rack.