

Creating compost … a beginner’s guide to composting
Want to compost your kitchen scraps but don’t know where to start? It can seem overwhelming and complicated creating compost, do you need a fancy (and expensive) composter for your benchtop? Do you need a special bin for your garden? What if it stinks? So many questions! We’ve broken it down (pardon the pun) to help take the confusion out of composting, and get you well on your way to reusing your food waste as a rich fertiliser for your garden.
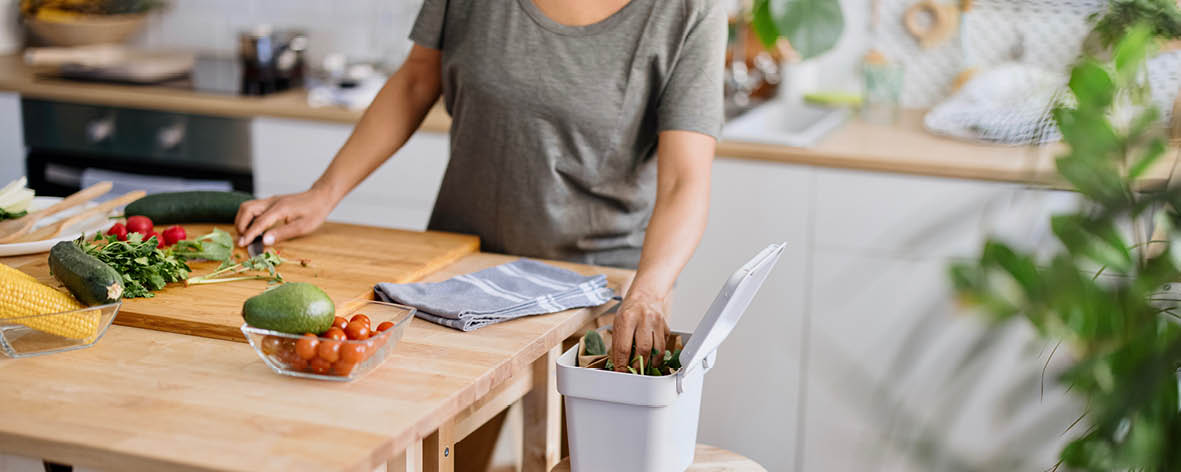
First things first, you don’t need a fancy benchtop compost bin to store your food waste
While there are some lovely compost buckets, bins, and containers on the market you don’t need an expensive vessel to house your kitchen scraps. To get started you can use something as simple and inexpensive as an old ice cream container (giving another piece of plastic a second life) or an old milk carton. If you are sensitive to odours (it might get a little smelly from time to time) or prone to ants, you can always store your kitchen scraps in the freezer until you are ready to add them to your compost pile.
Speaking of compost piles, the next step is to decide where you are going to put your compost heap or bin. It’s important to consider carefully the location of your compost pile. Why? Because where you decide to place your compost can influence the compositing process.
Keep it warm
Compost needs heat to decompose. Placing your compost bin or pile in a cold location that doesn’t get much sun will slow down this process. A location that gets some sun is ideal.
But not too warm
There is a fine line between warm enough and too warm. Compost that is too hot will dry out and for a compost pile/bin to work efficiently and effectively it needs moisture. Avoid locations that get a lot of wind for the same reason.
Keep it close, but not too close
You want your compost to be close enough that you will make the trip to deliver your food scraps, but not so close that the smell impacts you or your neighbours.
When considering where to put your compost think about the lay of the land. You want a flat, well-drained surface that gets some sun, very little wind and is an easy commute from your kitchen.
It’s all about balance and mixing it up
A healthy compost consists of both green (also known as wet compost) which is nitrogen-rich and brown (also known as dry) which is rich in carbon. The exact ratio of green vs brown compost is a matter of debate but most experts agree that a healthy compost is higher in carbon than it is nitrogen.
Here are some examples of green and brown waste:
Green – Fruit and vegetable scraps, eggshells, coffee grounds, fresh leaves, and grass.
Brown – Dried grass, newspaper, twigs and sticks, egg cartons, and dry leaf matter.
Lovely Layers – It’s important to layer your compost heap/bin to ensure enough air and water are circulating around the waste, this help create the best environment for decomposition. Start with brown waste, layering green on top, then add more brown, then add more green, and so on.
Toss and turn – It’s important to turn your compost for aeration often but not too much or you will upset the fungi and the microbes that make decomposition possible. A good rule of thumb is to turn a compost tumbler every three to four days and to manually turn a compost heap every three to seven days. As the compost matures and breaks down you can start turning it less.
Water - It’s important to keep a compost heap damp. The right amount of water will help keep the microorganisms in your compost pile “alive”. Water will also help keep the temperature of your compost pile stable. Again, it’s a balance. Too much water and your compost pile will become a smelly, sloppy mess. Too little water and the compost heap will become less effective, creating dry pockets that will slow down the decomposition of the compost.
So, there you have it, a few tips and tricks to take some of the confusion out of composting.